Ceiling Cracks Around Your Skylight: Cosmetic Damage or Something More Serious?
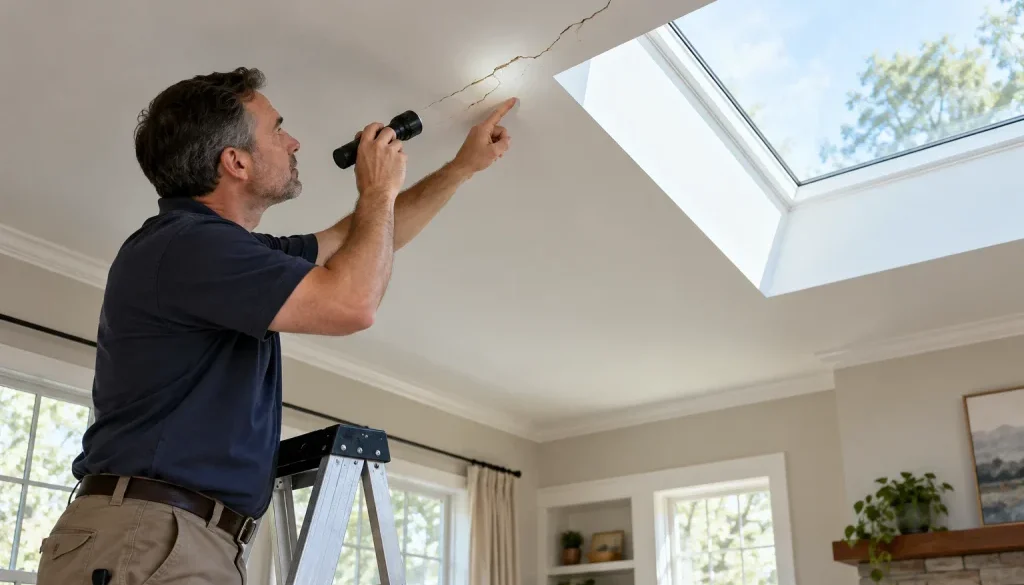
A ceiling crack near your skylight can be easy to dismiss, especially if it starts as a thin line in the paint. Some cracks develop from minor drywall movement, while others may accompany moisture damage or movement around the roof opening.
“How can you tell whether that crack is a cosmetic issue or a sign of a problem that needs professional attention?“
The crack’s location, whether it keeps growing, and any nearby staining or sagging can provide useful clues. Understanding these signs can help you decide what to investigate before patching and repainting.
Key Takeaways
- Skylight ceiling cracks have several causes.
- Stable seam cracks may be cosmetic.
- Staining and sagging warrant professional attention.
- Photograph cracks regularly to track changes.
- Resolve underlying problems before patching ceilings.
What Ceiling Cracks Around a Skylight Can Mean
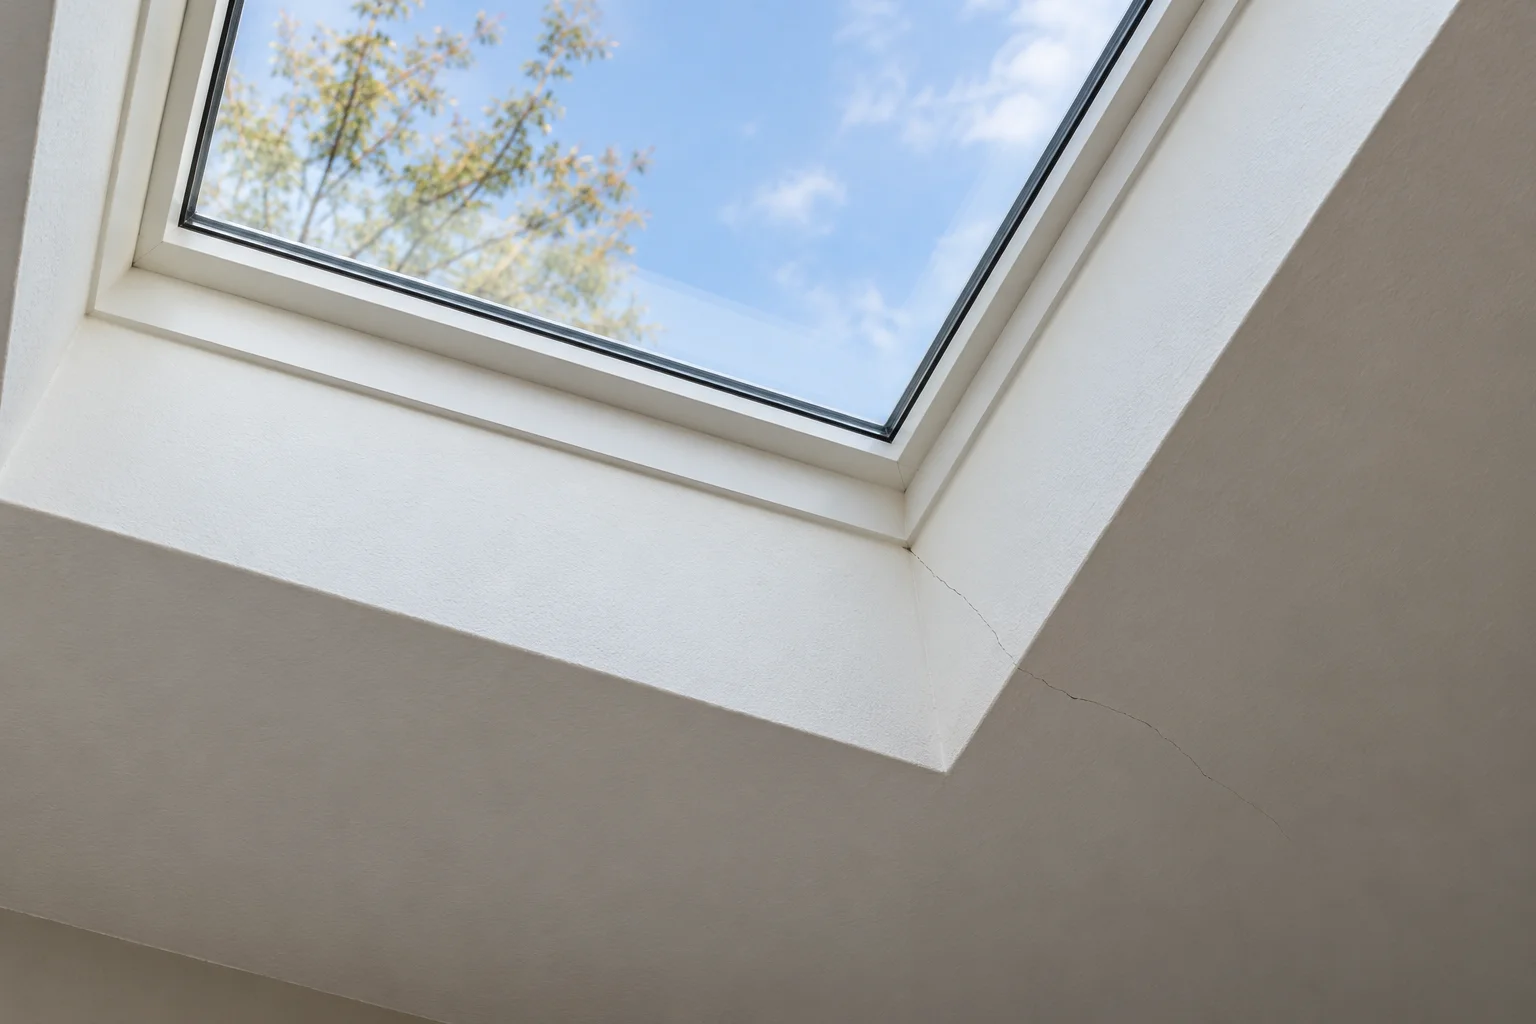
A crack shows that the ceiling finish has separated somewhere. It does not, by itself, explain what caused that separation or establish whether the roof structure has a problem.
Around a skylight, cracks may involve drywall joints, corner trim, moisture exposure, or movement in surrounding materials. A narrow crack along a taped seam can be cosmetic. However, even a small crack deserves closer attention if it appears beside water stains or changes after rainfall.
Common Reasons Cracks Develop Around Skylights
The skylight shaft connects the roof opening to the ceiling below. Its corners and transitions contain joints where movement or installation defects can become visible.
Drywall Joint Movement
Drywall panels meet at seams covered with tape and joint compound. If the panels move or the joint was poorly finished, a crack can appear through the painted surface.
Around a skylight shaft, this may show up as a straight line along a corner or where the shaft meets the ceiling. Loose trim or inadequate panel attachment can also contribute.
Seasonal Material Movement
Wood framing and drywall respond to changes in moisture conditions. As framing dries, shrinks, or moves, the attached ceiling finish may develop cracks.
A crack that appears during seasonal changes does not automatically indicate structural damage. Its progression and surrounding symptoms matter more than the season alone.
Moisture From Above
Water entering through the skylight assembly or nearby roofing can damage drywall and its paper facing. Joint tape may loosen, paint may bubble, and cracks may develop as affected materials deteriorate.
Condensation is another possible moisture source. Warm, humid indoor air meeting cold surfaces can produce water, particularly where insulation or air sealing around the shaft is inadequate.
Framing or Support Problems
Some cracks relate to movement or insufficient support around the opening. This could involve the backing supporting the drywall or, in more serious cases, the roof framing.
A ceiling crack alone cannot distinguish these conditions. Visible distortion, sagging, or continuing movement makes professional assessment especially important.
Signs a Crack May Be Cosmetic
A surface repair may be appropriate when the surrounding materials remain sound and the underlying movement has been assessed. Several observations can support that conclusion.
- It follows a drywall seam. A straight line along a joint may involve tape or joint compound.
- It remains unchanged. Dated photographs show no noticeable extension or widening.
- There are no moisture symptoms. The surrounding finish has no staining, bubbling, or visible deterioration.
- The ceiling retains its shape. There is no sagging, bulging, or separation around the opening.
These clues are useful, but they do not guarantee that hidden areas are dry or properly supported. A crack’s small size alone is not enough to dismiss it.
Warning Signs That Need Professional Attention
Changes around the crack often reveal more than the crack itself. Look for signs of moisture, continuing movement, or loss of support.
Staining or Peeling
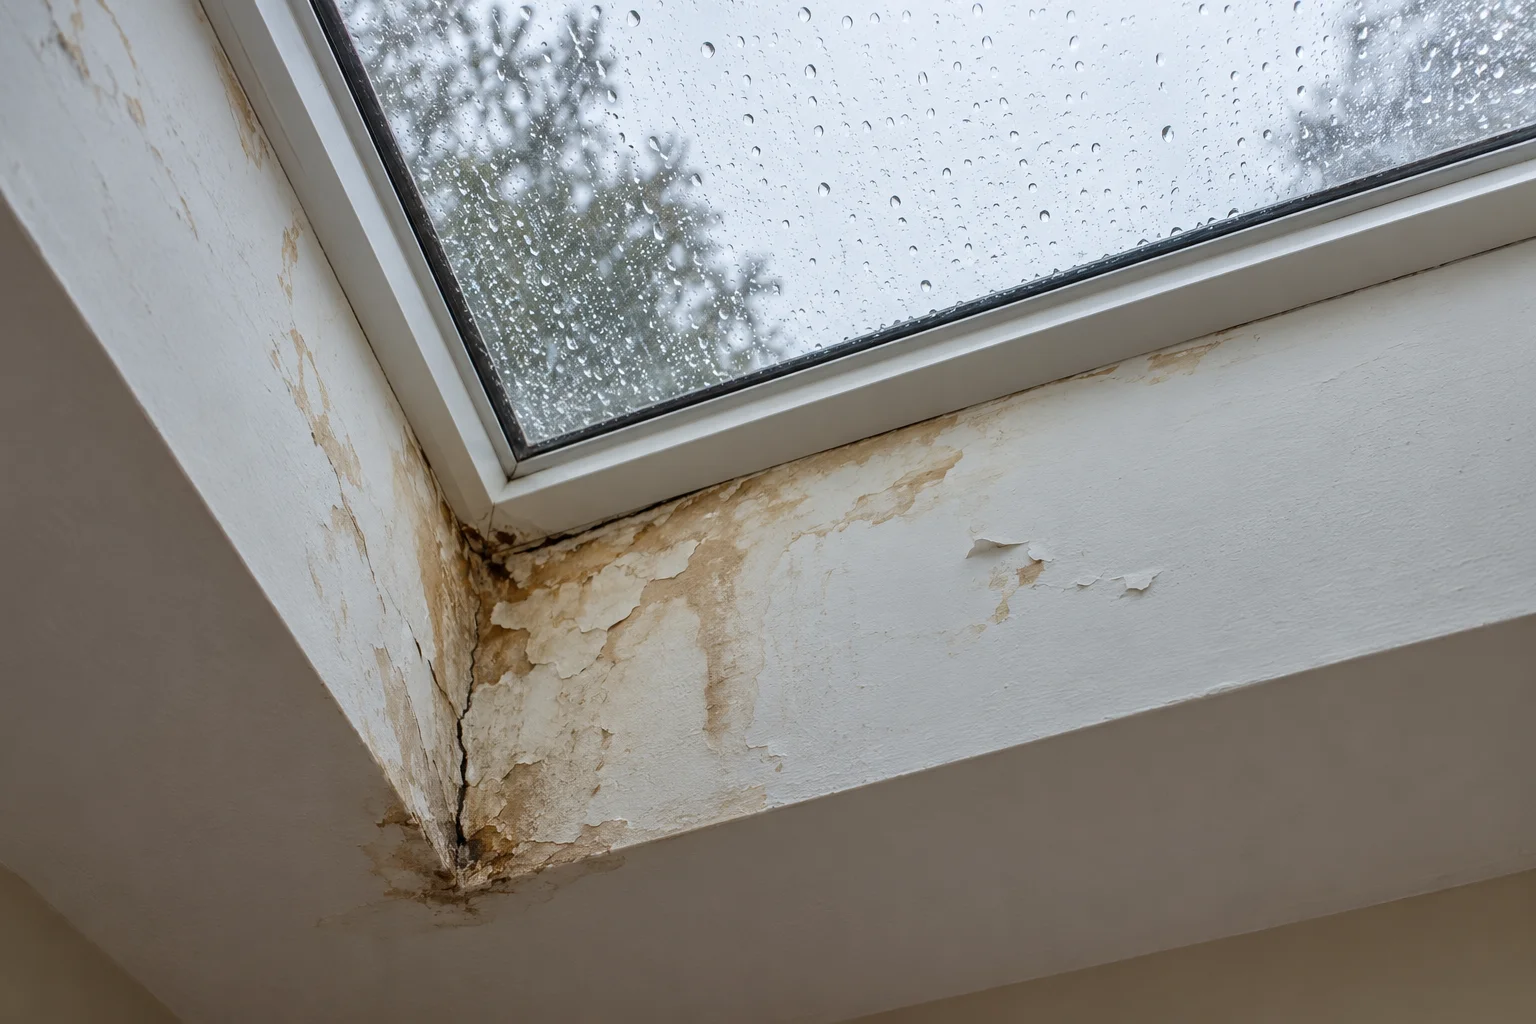
Brown marks, peeling paint, and loose joint tape can accompany moisture exposure. A stain may remain after an old leak dries, so discoloration alone does not establish whether water is still entering.
Fresh staining, new bubbling, or dampness after rain strengthens the case for investigating an active leak.
Growing or Returning
A crack that lengthens, opens wider, or returns after repair needs further investigation. Repeated patching can conceal the symptom while leaving its cause unresolved.
Recurring cracks may involve continuing material movement, inadequate drywall attachment, or moisture. Recurrence does not automatically mean structural failure.
Sagging or Distortion
A sagging ceiling, bulging drywall, or falling material requires prompt attention. Keep people and furniture away from the affected area, and do not press on it or attempt to drain it.
Changes in the skylight opening also deserve assessment. A venting skylight that suddenly binds may have a hardware problem, but visible distortion warrants checking the surrounding assembly.
Changes After Rain
Note whether staining or dampness appears during rain, shortly afterward, or during snowmelt. This timing helps a roofer investigate possible entry points.
Water can travel before becoming visible indoors. A crack directly below a skylight does not prove that the skylight glass or frame is the source.
Comparing Crack Patterns and Next Steps
Use these observations to organize what you see and explain it to a professional. They suggest possible causes rather than provide a diagnosis.
| Visible Condition | Possible Explanation | Recommended Next Step |
|---|---|---|
| Fine, stable line along a drywall seam | Joint movement or finishing defect | Document changes and assess before cosmetic repair |
| Crack beside staining or bubbling paint | Current or previous moisture exposure | Arrange an inspection to identify the moisture source |
| Crack returning after patching | Continuing movement or unresolved joint problems | Investigate before repairing again |
| New dampness following rain | Water entering the roof or skylight assembly | Schedule a roofing inspection promptly |
| Crack with sagging or falling material | Damaged drywall or support concerns | Keep clear and obtain prompt professional assessment |
Safe Checks Homeowners Can Make
You can gather useful information without reaching the skylight or climbing onto the roof. Start with observations from a stable position on the floor.
- Take dated photographs. Include a wide view showing the skylight and a closer image of the crack.
- Record visible changes. Note its approximate length and whether new branches appear.
- Track weather conditions. Record rainfall, snowmelt, and any moisture appearing indoors.
- Review previous repairs. Gather information about skylight work, roof repairs, or earlier ceiling patches.
- Check nearby surfaces. Look for additional stains or cracks elsewhere in the room.
Avoid pressing on damaged drywall, scraping loose material overhead, or entering an attic without safe access and proper footing.
Pro Tip: Photograph the crack from the same position each time, using a nearby ceiling feature as a reference. Keep a brief record of weather and visible changes.
What a Professional Should Inspect
A useful inspection considers the ceiling, shaft, skylight, and surrounding roof together. Checking only the visible crack can miss the reason it formed.
Roof and Skylight
A roofer should assess the skylight’s condition, its flashing, and nearby roofing materials. Flashing connections and water drainage around the opening deserve particular attention.
The inspection should also consider whether water could be entering higher on the roof and traveling toward the skylight shaft.
Shaft and Drywall
Accessible areas should be checked for moisture damage, loose joints, and inadequate drywall support. Insulation and air sealing around the shaft may also need evaluation where condensation is suspected.
Moisture readings can help identify affected materials, but readings need interpretation alongside visual evidence and conditions at the time.
Framing and Support
Visible framing should be assessed where access permits. If the inspection reveals deformation, questionable alterations, or unexplained movement, further evaluation by a qualified structural professional may be appropriate.
Not every roofing inspection includes a structural assessment. Ask what the findings establish and whether another specialist is needed.
Repair the Cause Before Patching the Ceiling
The correct repair depends on the condition found. A sound, dry drywall joint needs a different response from a ceiling damaged by recurring water entry.
First, address active leaks, moisture sources, or support problems. Then allow affected materials to dry and determine what can remain. Deteriorated drywall may need replacement; sound joints may need proper reinforcement and refinishing. Paint should be the finishing step after the underlying issue has been resolved.
Get Answers Before the Crack Gets Worse
A stable seam crack may need a straightforward repair. Growing cracks, staining, or sagging call for closer investigation before cosmetic work begins.
Contact Us at DNB Roofing to schedule a skylight and roof inspection and discuss the next steps.